Set up Claude with Kubb
Kubb and Claude connect over MCP, the Model Context Protocol. Claude calls your API through plain conversation.
Kubb generates type-safe code from your OpenAPI spec. That includes the API client files, the Zod schemas, and an MCP server. Claude reads the MCP server and runs the matching API calls as you chat. You describe what you want, Claude makes the call.
Installation
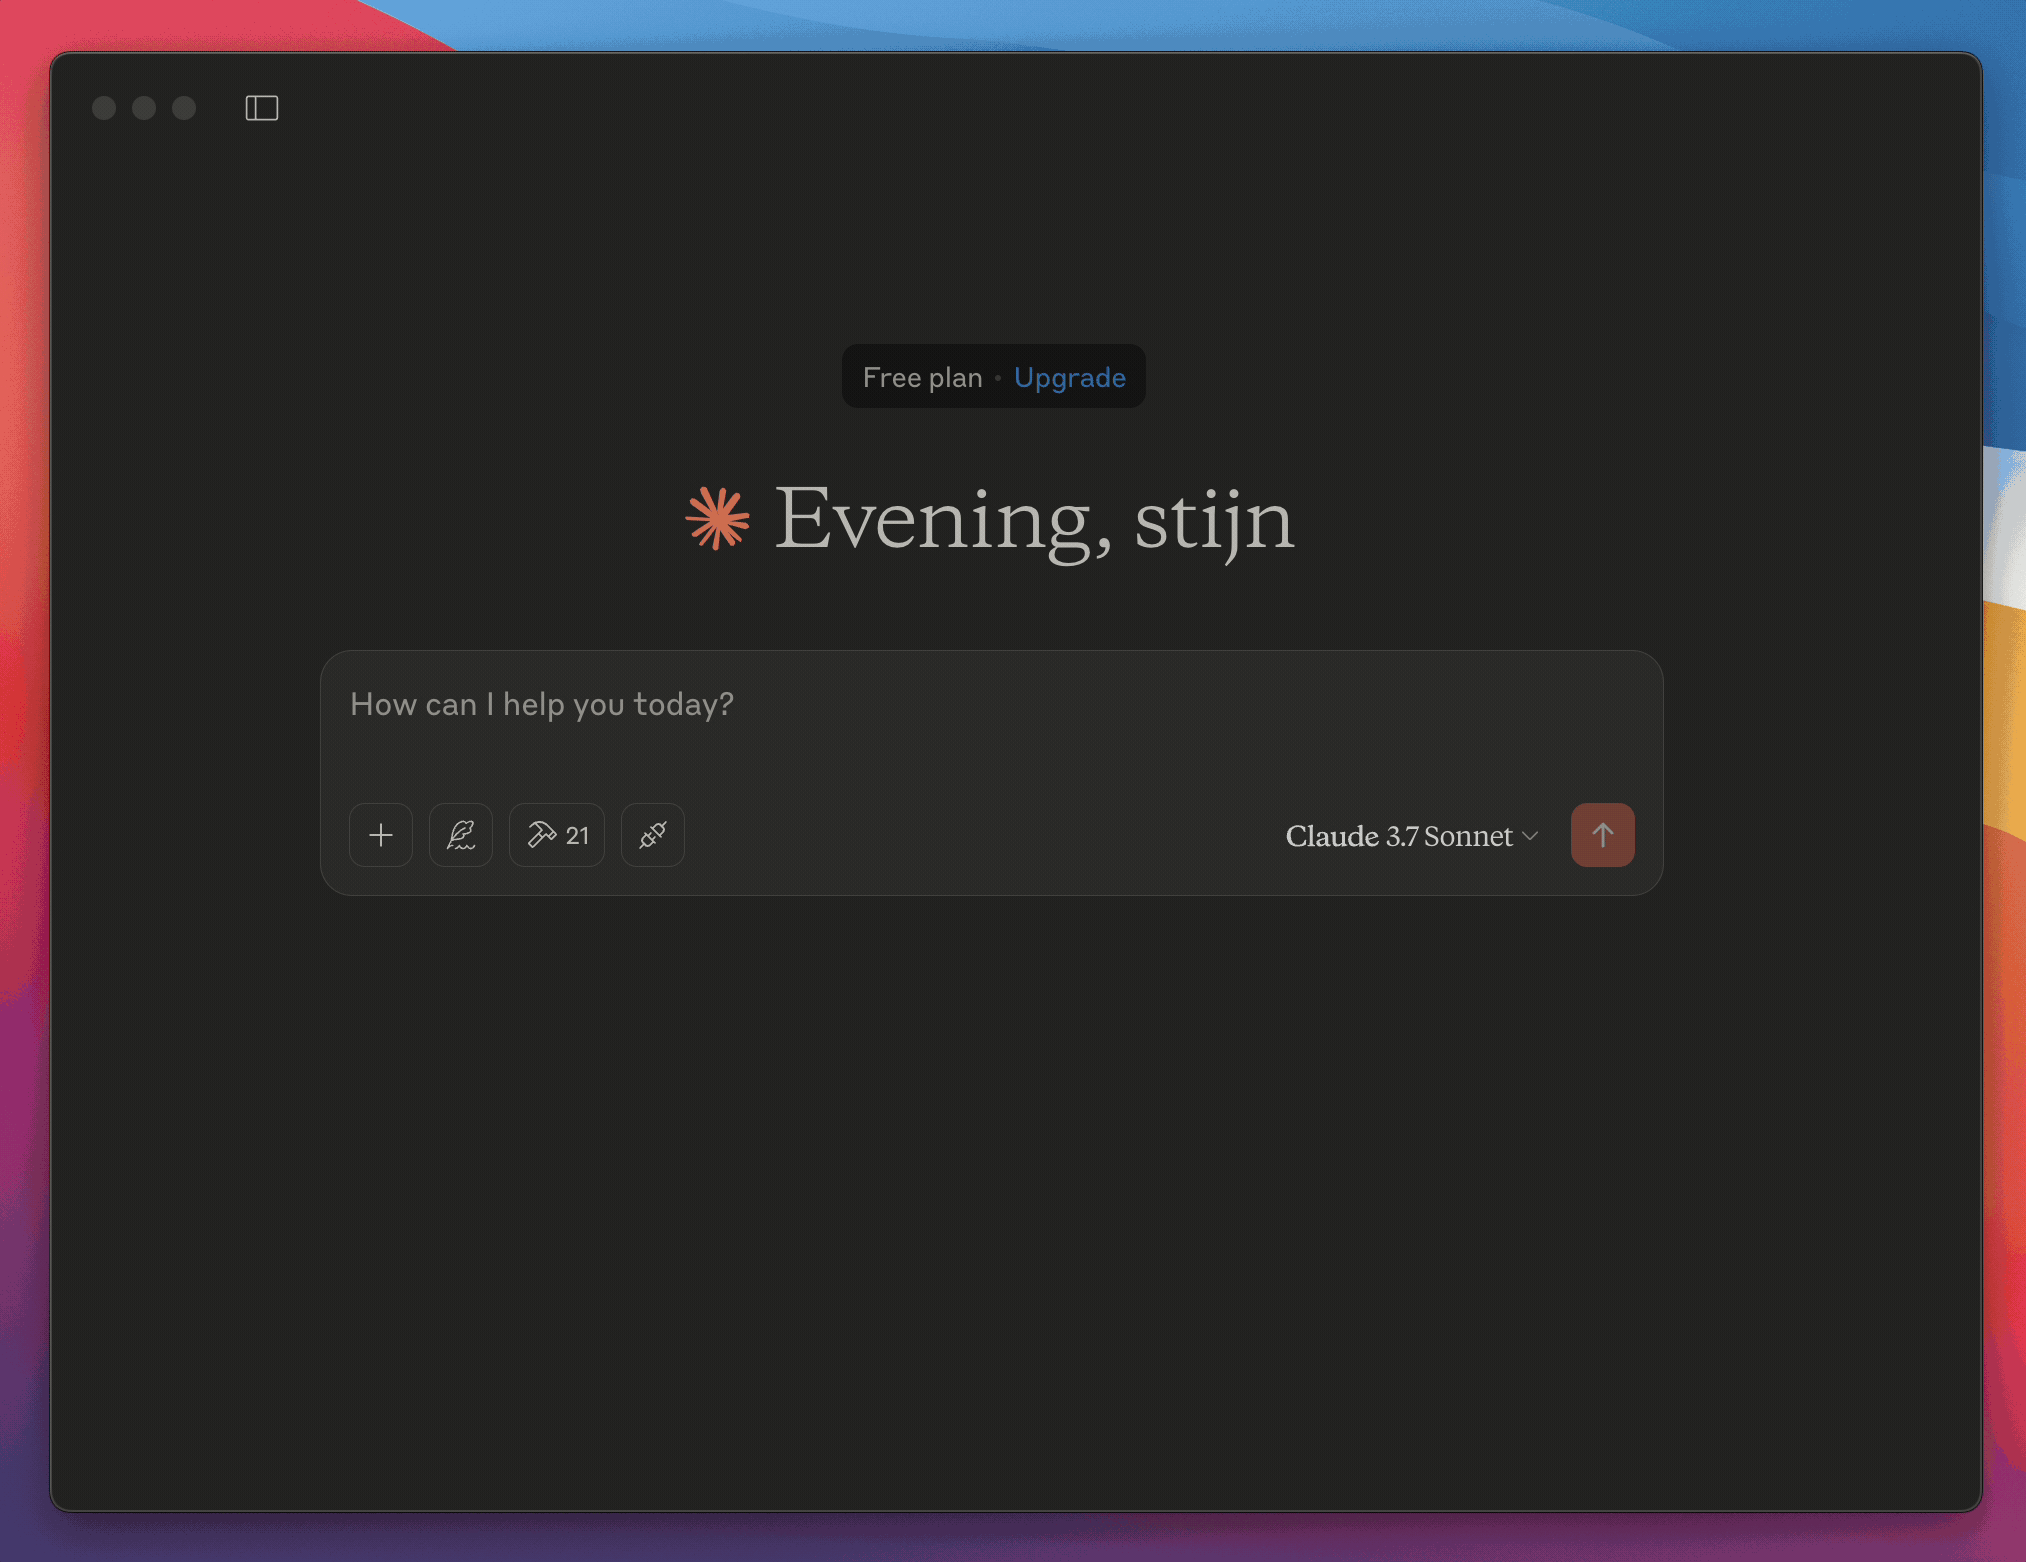
First, install Claude desktop and work through the user quickstart.
Then install Kubb with the MCP plugin.
TIP
The MCP plugin builds on the OpenAPI adapter, the TypeScript and Zod plugins, and a client plugin (axios or fetch) to generate every file it needs.
shell
bun add -d kubb@beta @kubb/plugin-ts@beta @kubb/plugin-zod@beta @kubb/plugin-axios@beta @kubb/plugin-mcp@betashell
pnpm add -D kubb@beta @kubb/plugin-ts@beta @kubb/plugin-zod@beta @kubb/plugin-axios@beta @kubb/plugin-mcp@betashell
npm install --save-dev kubb@beta @kubb/plugin-ts@beta @kubb/plugin-zod@beta @kubb/plugin-axios@beta @kubb/plugin-mcp@betashell
yarn add -D kubb@beta @kubb/plugin-ts@beta @kubb/plugin-zod@beta @kubb/plugin-axios@beta @kubb/plugin-mcp@betaDefine kubb.config.ts
Write a kubb.config.ts that sets up the MCP server.
pluginMcp depends on pluginTs and pluginZod, and each handler calls a registered client plugin. Add pluginAxios or pluginFetch, and pluginMcp detects it.
IMPORTANT
Set the baseURL on the client plugin so the generated handlers know which host to call.
typescript
import {  } from 'kubb'
import {  } from '@kubb/plugin-ts'
import {  } from '@kubb/plugin-zod'
import {  } from '@kubb/plugin-axios'
import {  } from '@kubb/plugin-mcp'

export default ({
  : {
    : './petStore.yaml',
  },
  : {
    : './src/gen',
  },
  : [
    (),
    (),
    ({
      : 'https://petstore.swagger.io/v2',
    }),
    (),
  ],
})
Generate MCP files
shell
npx kubb@beta generateInspect the generated files
The src/mcp folder holds the files that build an MCP server and connect Claude to your API.
text
.
├── src/
│   └── gen/
│   │   ├── mcp/
│   │   │   ├── addPet.ts
│   │   │   ├── getPetById.ts
│   │   │   ├── mcp.json
│   │   │   └── server.ts
│   │   ├── clients/
│   │   │   ├── addPet.ts
│   │   │   └── getPetById.ts
│   │   ├── zod/
│   │   │   ├── addPetSchema.ts
│   │   │   └── getPetByIdSchema.ts
│   │   ├── models/
│   │   │   ├── AddPet.ts
│   │   │   └── GetPetById.ts
│   │   └── index.ts
├── petStore.yaml
├── kubb.config.ts
└── package.json
src/mcp/addPet.ts
The addPetHandler function takes the pet body and calls the generated addPet client function. It returns the response as a JSON text message that MCP uses in conversations.
typescript
import type { AddPetRequestConfig } from '../models/ts/AddPet'
import type { RequestHandlerExtra } from '@modelcontextprotocol/sdk/shared/protocol'
import type { CallToolResult, ServerNotification, ServerRequest } from '@modelcontextprotocol/sdk/types'
import { addPet } from '../clients/addPet'

export async function addPetHandler(
  { body }: AddPetRequestConfig,
  request: RequestHandlerExtra<ServerRequest, ServerNotification>,
): Promise<Promise<CallToolResult>> {
  const res = await addPet({ body })

  return {
    content: [
      {
        type: 'text',
        text: JSON.stringify(res.data),
      },
    ],
    structuredContent: { data: res.data },
  }
}
src/mcp/mcp.json
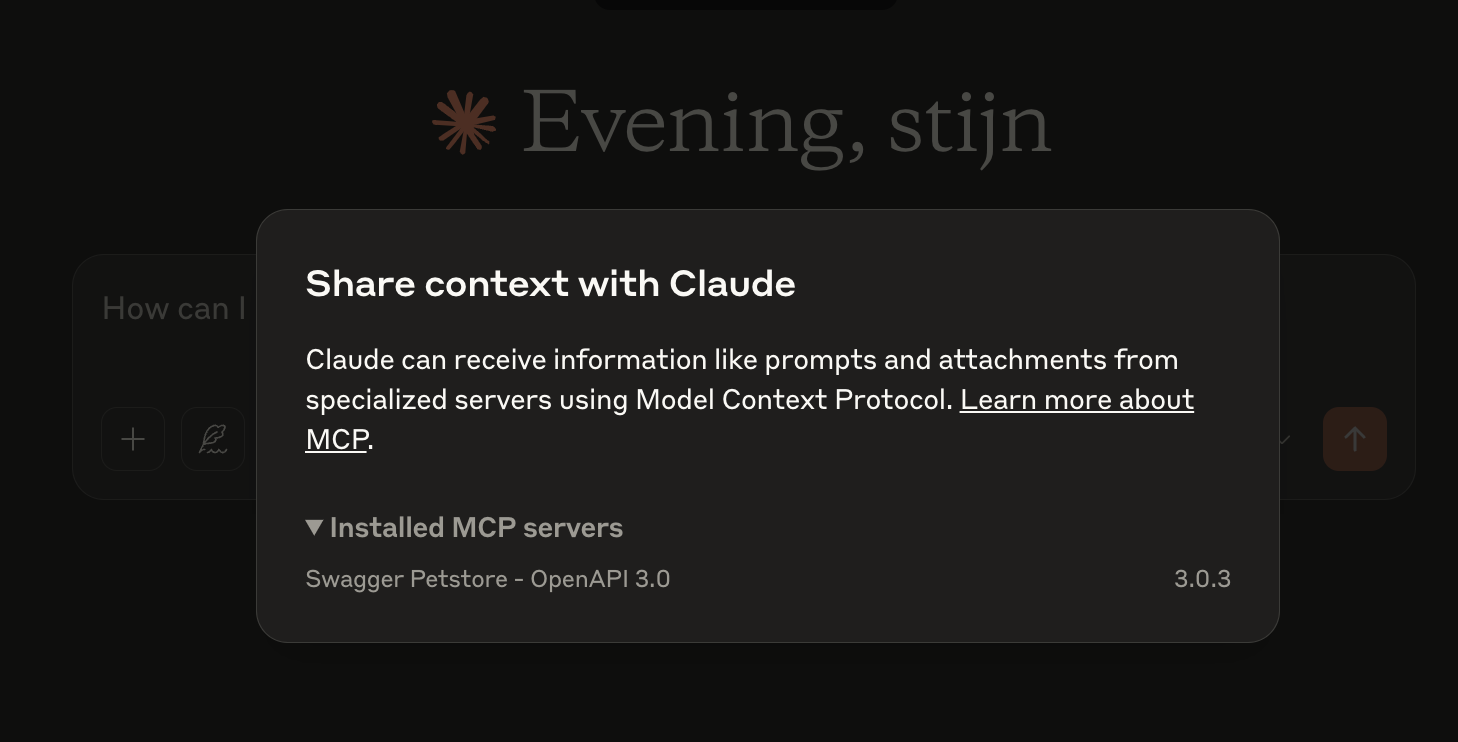
This config registers an MCP server named "Swagger PetStore - OpenAPI 3.0". The name comes from info.title in your OpenAPI file.
It runs the TypeScript server (server.ts) through tsx, so MCP handles tool calls over standard input and output.
json
{
  "mcpServers": {
    "Swagger PetStore - OpenAPI 3.0": {
      "type": "stdio",
      "command": "npx",
      "args": ["tsx", "/mcp/src/gen/mcp/server.ts"]
    }
  }
}
src/mcp/server.ts
This code starts an MCP server for the Swagger PetStore API in four steps:
- Import the MCP SDK classes, each operation handler, and the Zod input schemas.
- Create an MCP server named
"Swagger PetStore - OpenAPI 3.0". - Register the
addPettool. It validates the input againstaddPetDataSchemafrom the Zod plugin, then callsaddPetHandler. - Connect the server to a
stdiotransport so it talks over standard input and output.
typescript
import { McpServer } from '@modelcontextprotocol/sdk/server/mcp'
import { StdioServerTransport } from '@modelcontextprotocol/sdk/server/stdio'

import { addPetHandler } from './addPet'
import { addPetDataSchema, addPetStatus200Schema } from '../zod/addPetSchema'

export function getServer() {
  const server = new McpServer({
    name: 'Swagger PetStore - OpenAPI 3.0',
    version: '1.0.11',
  })

  server.registerTool(
    'addPet',
    {
      title: 'Add a new pet to the store',
      description: 'Add a new pet to the store',
      outputSchema: { data: addPetStatus200Schema },
      inputSchema: { body: addPetDataSchema },
    },
    async ({ body }, request) => {
      return addPetHandler({ body }, request)
    },
  )

  return server
}

export const server = getServer()

export async function startServer() {
  try {
    const transport = new StdioServerTransport()
    await server.connect(transport)
  } catch (error) {
    console.error('Failed to start server:', error)
    process.exit(1)
  }
}

startServer()
Start Claude with the MCP server
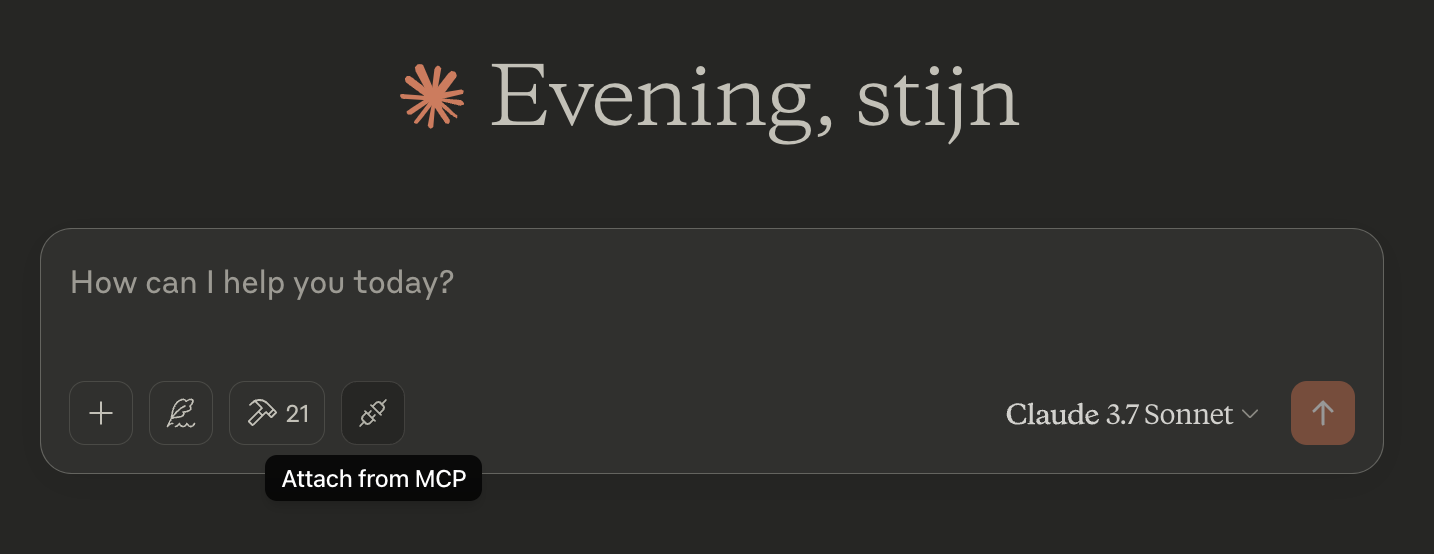
Point Claude at your MCP server config (src/mcp/mcp.json). Open Claude desktop and go to settings.
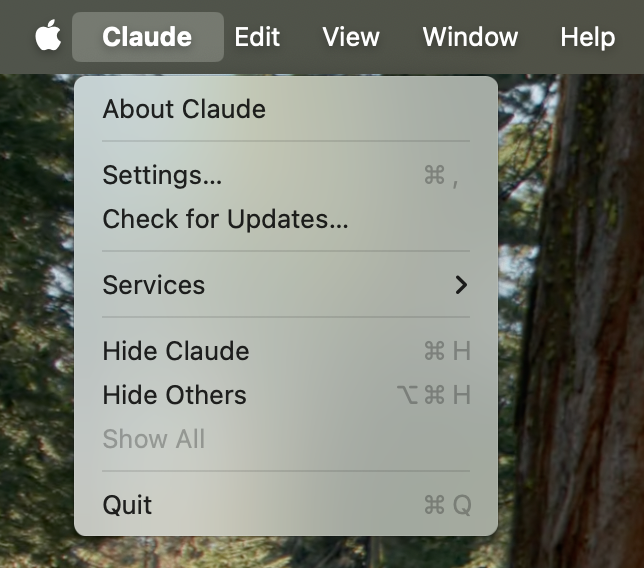
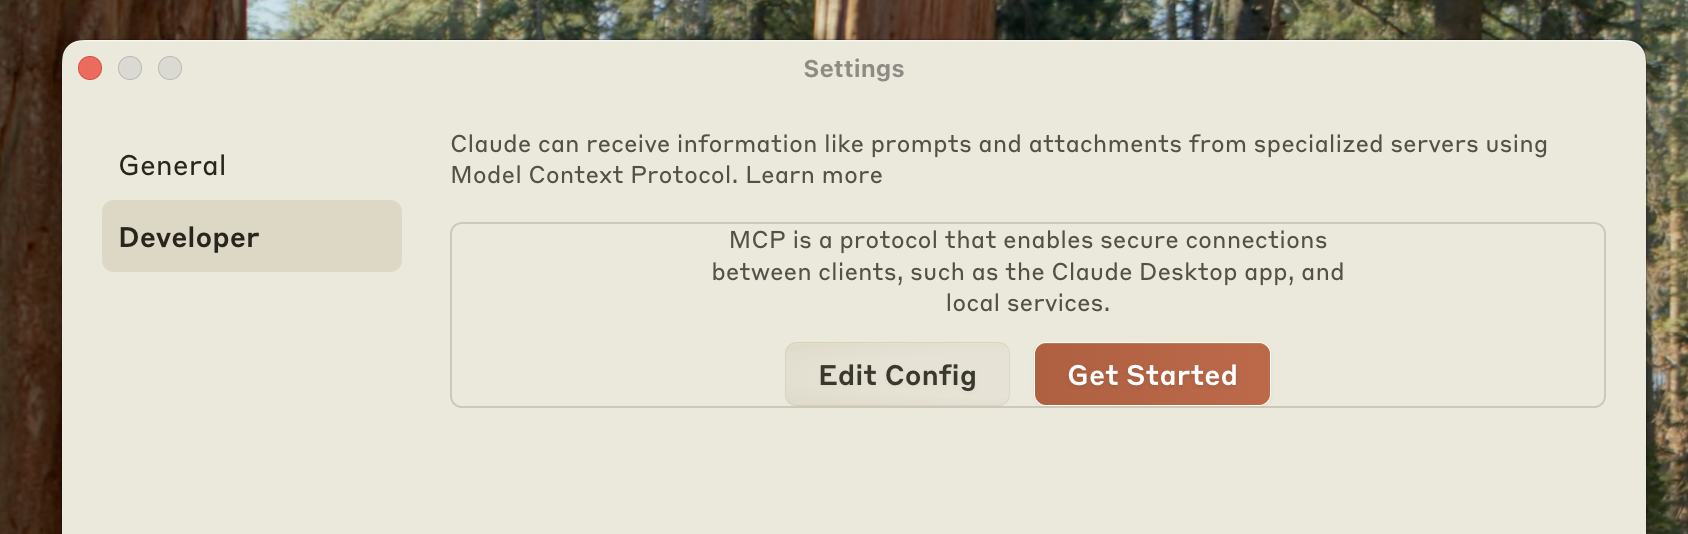
In the settings panel, open the developer section and click edit config. A window shows where the JSON file that lists your MCP servers lives.
TIP
Manually navigate to:
- Mac:
~/Library/Application Support/Claude/claude_desktop_config.json - Windows:
%APPDATA%\Claude\claude_desktop_config.json
Copy the content of src/mcp/mcp.json so Claude picks up your MCP server.
TIP
With multiple MCP servers, append your entry instead of overwriting the file.
For example:
json
{
  "mcpServers": {
    "Swagger PetStore - OpenAPI 3.0": {
      "type": "stdio",
      "command": "npx",
      "args": ["tsx", "mcp/src/gen/mcp/server.ts"]
    },
    "github": {
      "command": "docker",
      "args": [
        "run",
        "-i",
        "--rm",
        "-e",
        "GITHUB_PERSONAL_ACCESS_TOKEN",
        "mcp/github"
      ],
      "env": {
        "GITHUB_PERSONAL_ACCESS_TOKEN": "<YOUR_TOKEN>"
      }
    }
  }
}
Validate your MCP server
Quit Claude and reopen the desktop app. Click the button below to check that your MCP server is connected.
The view below opens and shows your generated MCP server.
Use your MCP server
The prompt create a random pet reaches your MCP server. The server maps it to the addPet tool, which calls addPetHandler and creates the pet.